Find Space
Find a Location
Partners
Resources
GBP
020 3808 7222
Enquire Now
Office Type
Price
Desks
Amenities
Sale
Home
United Kingdom
tileyard north
Office Space in tileyard north
1534 Office Spaces for Lease in Tileyard north, , United Kingdom
Showing 1 - 40 out of 1534 spaces
Sort by: Best Match
Previous slide
Next slide
Compare
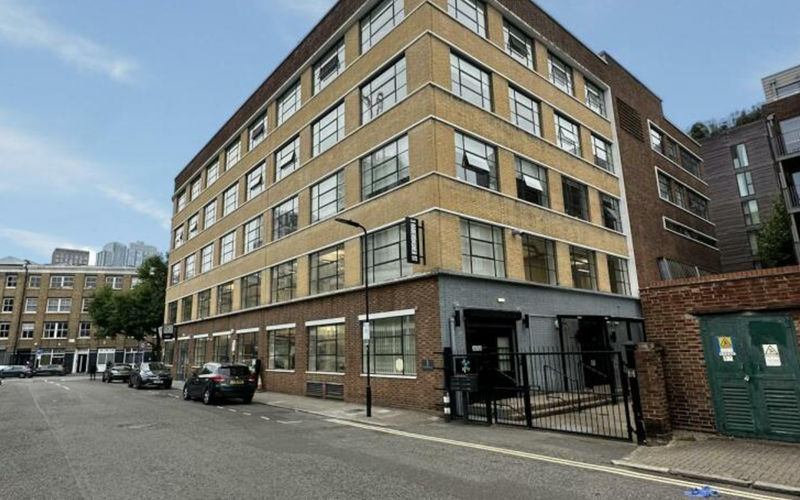
69 Leonard Street
69 Leonard Street, London
30 DESKS
MANAGED
(B) Pitfield Street (Stop M) • 3 mins walk
(T) Old Street • 6 mins walk
£8,950
/mo
1 other options (1-30 desks)
Enquire
Previous slide
Next slide
Compare
Aldermary House
10-15 Queen S, London
30 DESKS
MANAGED
(B) Mansion House • 2 mins walk
(T) Mansion House • 2 mins walk
£38,590
/mo
2 other options (1-60 desks)
Enquire
Previous slide
Next slide
Compare
4 Frederick's Place
4 Frederick's Place, London
30 DESKS
MANAGED
(B) Bank Station / Poultry (Stop K) • 1 mins walk
(T) Bank Station • 3 mins walk
£3,692
/mo
1 other options (1-30 desks)
Enquire
Previous slide
Next slide
Compare
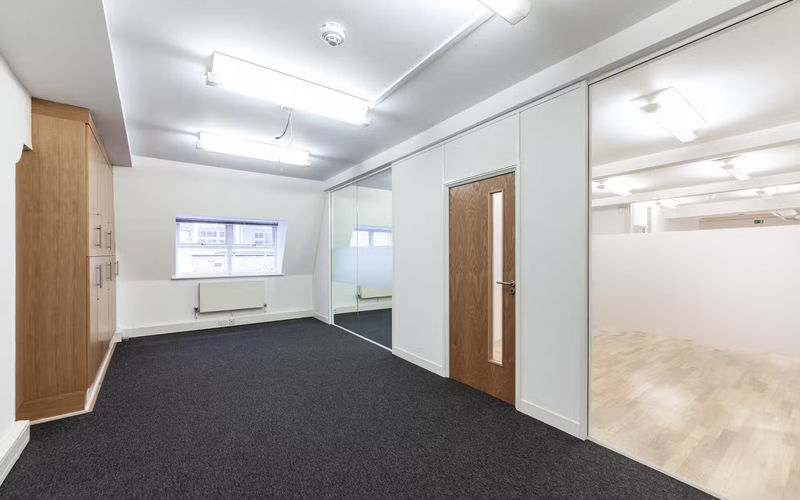
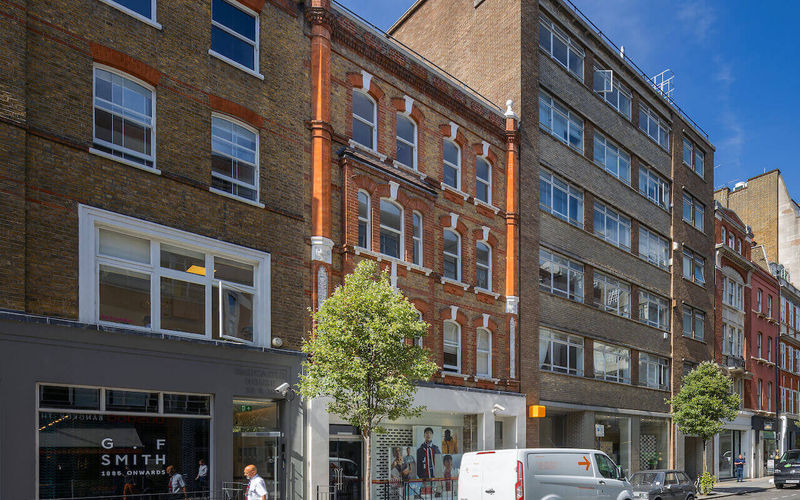
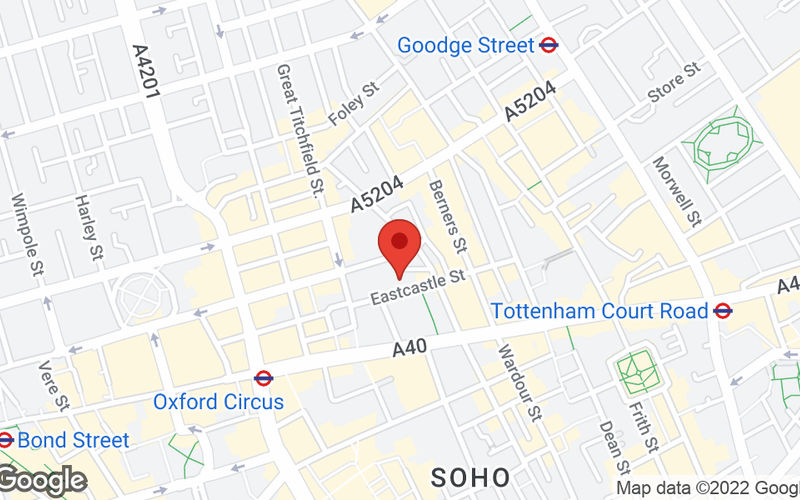
26 Eastcastle Street
26 Eastcastle Street, Fitzrovia
28 DESKS
MANAGED
(B) Great Titchfield Street / Oxford Circus Station (Stop OJ) • 2 mins walk
(T) Oxford Circus • 5 mins walk
£6,650
/mo
2 other options (1-28 desks)
Enquire
Previous slide
Next slide
Compare
Bromley Old Town Hall
30 Tweedy Road, Bromley
36 DESKS
MANAGED
(B) South Street (Bromley Town Centre) car park • 1 mins walk
(T) Bromley North • 2 mins walk
£10,800
/mo
29 other options (1-36 desks)
Enquire
Previous slide
Next slide
Compare
12 Arthur Street
12 Arthur Street, London
250 DESKS
MANAGED
(B) London Bridge (Stop 49) • 2 mins walk
(T) Cannon Street • 4 mins walk
£84,917
/mo
3 other options (1-255 desks)
Enquire
Previous slide
Next slide
Compare
Dowgate Hill House
14-16 Dowgate Hill Cannon Street, London
12 DESKS
MANAGED
(B) Cannon Street • 1 mins walk
(T) Cannon Street Station • 1 mins walk
£4,565
/mo
11 other options (1-28 desks)
Enquire
Previous slide
Next slide
Compare
The Henson Building
30 Oval Road, London
217 DESKS
MANAGED
(B) Gibson Bus Location • 3 mins walk
(T) Camden Town • 7 mins walk
£14,493
/mo
2 other options (1-331 desks)
Enquire
Previous slide
Next slide
Compare
10 Whitfield ST
10 Whitfield St, London
90 DESKS
MANAGED
(B) Goodge Street • 2 mins walk
(T) Goodge Street • 2 mins walk
£75,000
/mo
2 other options (1-98 desks)
Enquire
Previous slide
Next slide
Compare
346 OLD Street
346 Old Street, London
140 DESKS
MANAGED
(B) Shoreditch Town Hall (Stop W) • 1 mins walk
(T) Old Street • 7 mins walk
£45,771
/mo
3 other options (1-140 desks)
Enquire
Previous slide
Next slide
Compare
Old Street Yard
Old Street Yard, London
65 DESKS
MANAGED
(B) Old Street • 3 mins walk
(T) Old Street • 3 mins walk
£32,000
/mo
1 other options (1-65 desks)
Enquire
Previous slide
Next slide
Compare
Eleven Brindleyplace
2 Brunswick Square, Birmingham
68 DESKS
MANAGED
(B) Crescent Theatre • 1 mins walk
(T) Five Ways • 12 mins walk
£13,260
/mo
10 other options (1-218 desks)
Enquire
Previous slide
Next slide
Compare
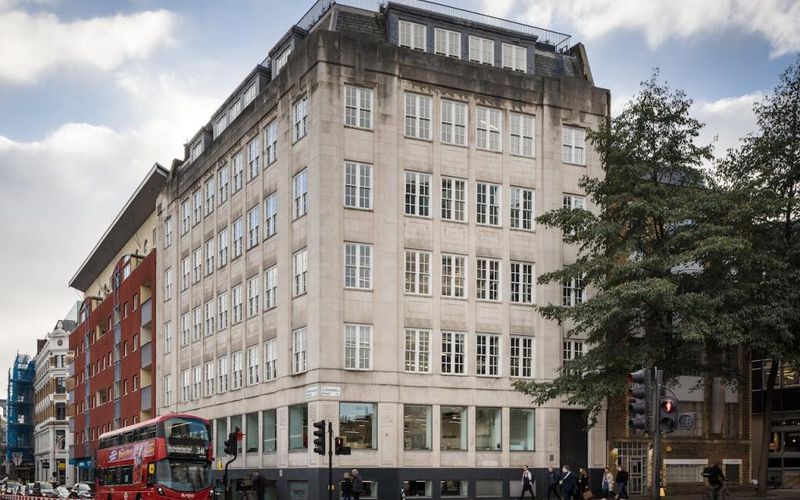
19-21 Hatton Garden
19-21 Hatton Garden, Greater London
75 DESKS
MANAGED
(B) Charterhouse Street (Stop M) • 3 mins walk
(T) Farringdon • 3 mins walk
£28,200
/mo
2 other options (1-75 desks)
Enquire
Previous slide
Next slide
Compare
The Corner Building
91-93 Farringdon Road, Farringdon
40 DESKS
MANAGED
(B) Farringdon Road • 1 mins walk
(T) Farringdon • 4 mins walk
£36,800
/mo
1 other options (1-40 desks)
Enquire
Previous slide
Next slide
Compare
Gun House
1 Artillery Passage, Greater London
12 DESKS
MANAGED
(B) Liverpool Street (Stop L) • 2 mins walk
(T) Liverpool Street • 6 mins walk
£4,900
/mo
1 other options (1-12 desks)
Enquire
Previous slide
Next slide
Compare
1a Old Nichol Street
1a Old Nichol Street, Shoreditch
36 DESKS
MANAGED
(B) Shoreditch High Street Station (Stop N) • 3 mins walk
(T) Shoreditch High Street • 3 mins walk
£11,050
/mo
1 other options (1-36 desks)
Enquire
Previous slide
Next slide
Compare
11-29 Fashion Street
11-29 Fashion Street, Shoreditch
22 DESKS
MANAGED
(B) Brushfield Street • 2 mins walk
(T) Aldgate East • 6 mins walk
£10,850
/mo
2 other options (1-22 desks)
Enquire
Previous slide
Next slide
Compare
41 Whitehall
41 Whitehall, London
10 DESKS
MANAGED
(B) Whitehall Trafalgar Square • 1 mins walk
(T) Charing Cross • 4 mins walk
£8,375
/mo
4 other options (1-20 desks)
Enquire
Previous slide
Next slide
Compare
21 Great Winchester ST
21 Great Winchester St, London
40 DESKS
MANAGED
(B) All Hallows Church (Stop U) • 2 mins walk
(T) Liverpool Street • 4 mins walk
£28,940
/mo
1 other options (1-40 desks)
Enquire
Previous slide
Next slide
Compare
Hale House 76
19 Portland Pl, London
30 DESKS
MANAGED
(B) Devonshire Row Mews Car Park • 2 mins walk
(T) Regent's Park • 4 mins walk
£31,325
/mo
4 other options (1-33 desks)
Enquire
Previous slide
Next slide
Compare
Tavern Quay
Rope Street, Greater London
16 DESKS
MANAGED
(B) Yeoman Street • 3 mins walk
(T) Surrey Quays • 10 mins walk
£1,500
/mo
2 other options (1-16 desks)
Enquire
Previous slide
Next slide
Compare
46-47 Britton Street
46-47 Britton Street, London
39 DESKS
MANAGED
(B) St John Street (Stop J) • 3 mins walk
(T) Farringdon • 3 mins walk
£16,400
/mo
1 other options (1-39 desks)
Enquire
Previous slide
Next slide
Compare
2-3 Grosvenor Street
2-3 Grosvenor Street, Mayfair
14 DESKS
MANAGED
(B) New Bond Street (Stop OS) • 2 mins walk
(T) Bond Street • 4 mins walk
£12,300
/mo
1 other options (1-14 desks)
Enquire
Previous slide
Next slide
Compare
Cannongate House
62-64 Cannon St, London
70 DESKS
MANAGED
(B) Cannon Street Station (Stop MB) • 2 mins walk
(T) Mansion House • 2 mins walk
£39,293
/mo
2 other options (1-70 desks)
Enquire
Previous slide
Next slide
Compare
22 Ganton St
22 Ganton St, London
90 DESKS
MANAGED
(B) Fitness First - Great Marlborough Street • 1 mins walk
(T) Oxford Circus • 4 mins walk
£48,803
/mo
2 other options (1-96 desks)
Enquire
Previous slide
Next slide
Compare
The Curve
3 Haberdasher Street, London
120 DESKS
MANAGED
(B) Bevenden Street (Stop XP) • 2 mins walk
(T) Old Street • 6 mins walk
£72,030
/mo
2 other options (1-120 desks)
Enquire
Previous slide
Next slide
Compare
152-154 Curtain Road
152-154 Curtain Road, Shoreditch
63 DESKS
MANAGED
(B) Shoreditch Town Hall (Stop X) • 1 mins walk
(T) Old Street • 7 mins walk
£22,150
/mo
5 other options (1-63 desks)
Enquire
Previous slide
Next slide
Compare
5 Carnaby Street
5 Carnaby Street, Carnaby
28 DESKS
MANAGED
(B) Conduit Street / Hamleys Toy Store • 2 mins walk
(T) Piccadilly Circus • 5 mins walk
£30,000
/mo
1 other options (1-28 desks)
Enquire
Previous slide
Next slide
Compare
32-34 Great Marlborough Street
32-34 Great Marlborough Street, Soho
35 DESKS
MANAGED
(B) Oxford Circus Station (Stop RC) • 1 mins walk
(T) Oxford Circus • 2 mins walk
£17,507
/mo
1 other options (1-35 desks)
Enquire
Previous slide
Next slide
Compare
Bentima House
Bunhill Row Old Street, London
60 DESKS
MANAGED
(B) Bunhill Row (Stop G) • 1 mins walk
(T) Old Street • 3 mins walk
£49,313
/mo
1 other options (1-60 desks)
Enquire
Previous slide
Next slide
Compare
5-7 Southwark Street
5-7 Southwark Street, Bankside
21 DESKS
MANAGED
(B) Bankside • 1 mins walk
(T) Mansion House • 8 mins walk
£10,250
/mo
3 other options (1-21 desks)
Enquire
Previous slide
Next slide
Compare
41-44 Great Queen St
41-44 Great Queen St, London
40 DESKS
MANAGED
(B) Covent Garden • 4 mins walk
(T) Covent Garden • 4 mins walk
£32,500
/mo
2 other options (1-50 desks)
Enquire
Previous slide
Next slide
Compare
120 Camden High Street
120 Camden High Street, Greater London
50 DESKS
MANAGED
(B) Pratt Street (Stop CS) • 1 mins walk
(T) Camden Town • 2 mins walk
£36,900
/mo
4 other options (1-55 desks)
Enquire
Previous slide
Next slide
Compare
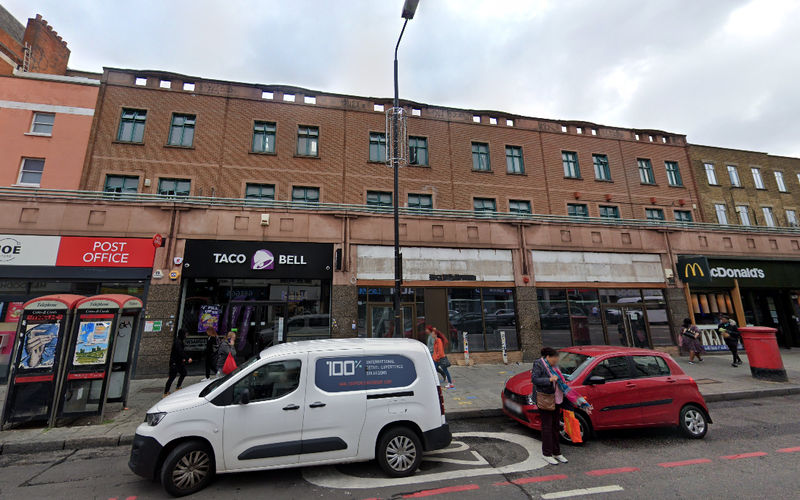
Aldgate
1 Aldgate, Greater London
130 DESKS
MANAGED
(B) Aldgate Bus Station (Stop L) • 2 mins walk
(T) Aldgate • 2 mins walk
£63,700
/mo
7 other options (1-140 desks)
Enquire
Previous slide
Next slide
Compare
46 Park Place
Park Place, Leeds
20 DESKS
MANAGED
(B) Wellington J • 2 mins walk
(T) Leeds Station • 5 mins walk
£5,952
/mo
3 other options (1-32 desks)
Enquire
Previous slide
Next slide
Compare
8-12 Leeke St
8-12 Leeke St, London
29 DESKS
MANAGED
(B) Kings Cross Road (Stop K) • 2 mins walk
(T) King's Cross St. Pancras • 5 mins walk
£14,800
/mo
1 other options (1-29 desks)
Enquire
Previous slide
Next slide
Compare
120 Camden High Street
120 Camden High Street, Greater London
40 DESKS
MANAGED
(B) Pratt Street (Stop CS) • 1 mins walk
(T) Camden Town • 2 mins walk
£25,100
/mo
4 other options (1-55 desks)
Enquire
Previous slide
Next slide
Compare
UK House
2 Great Titchfield Street, London
70 DESKS
MANAGED
(B) Gt Titchfield St Photographers Gall. • 1 mins walk
(T) Oxford Circus • 4 mins walk
£122,191
/mo
1 other options (1-70 desks)
Enquire
Previous slide
Next slide
Compare
38 Seymour St
38 Seymour St, London
36 DESKS
MANAGED
(B) Marble Arch Station / Edgware Road (Stop H) • 2 mins walk
(T) Marble Arch • 3 mins walk
£32,900
/mo
1 other options (1-36 desks)
Enquire
Previous slide
Next slide
Compare
32-34 Great Marlborough Street
32-34 Great Marlborough Street, London
18 DESKS
MANAGED
(B) Fitness First - Great Marlborough Street • 3 mins walk
(T) Oxford Circus • 4 mins walk
£16,985
/mo
1 other options (1-18 desks)
Enquire
Previous
1
2
More pages
39
Next


-Bromley-Bromley-30-Tweedy-Road-2329136.jpg)


-Bromley-Bromley-30-Tweedy-Road-2329142.jpg)


-Bromley-Bromley-Tweedy-Road-3816789.jpg)


-London-London-346-Old-Street-3848900.jpg)


-West-Midlands-Birmingham-2-Brunswick-Square-3969020.jpg)


-England-Greater-London-1-Artillery-Passage-3963355.jpg)


-England-Shoreditch-11-29-Fashion-Street-4021541.jpg)


-London-London-41-Whitehall-4112279.jpg)


-London-London-19-Portland-PL-4019225.jpg)

-England-Greater-London-Rope-Street-3955463.jpg)


-England-Mayfair-2-3-Grosvenor-Street-4004882.jpg)


-London-London-62-64-Cannon-St-3925625.jpg)


-London-Shoreditch-152-154-Curtain-Road-4018869.jpg)


-England-Carnaby-5-Carnaby-Street-3175594.jpg)


-London-London-Bunhill-Row-Old-Street-4110292.jpg)


-London-London-41-44-Great-Queen-St-4006589.jpg)


-West-Yorkshire-Leeds-Park-Place-3993643.jpg)


-England-London-8-12-Leeke-St-3996591.jpg)


-London-London-2-Great-Titchfield-Street-4111035.jpg)


-London-London-38-Seymour-St-4108747.jpg)


-London-London-32-34-Great-Marlborough-Street-3995306.jpg)